Episode 7 – How to Paint Your Kitchen Cabinets
This is the week we have all been waiting for!
We are Putting on a final coat of paint on our doors and installing them.
- Cover your roller completely with your finishing paint for even coverage. Begin rolling your door carefully with paint and avoid any drips or splatters. After all cabinet doors are painted you want to allow them to dry completely before turning them over to paint the other side. We understand how hard it can be to wait for the paint to dry, but trust us… It will be worth the wait.
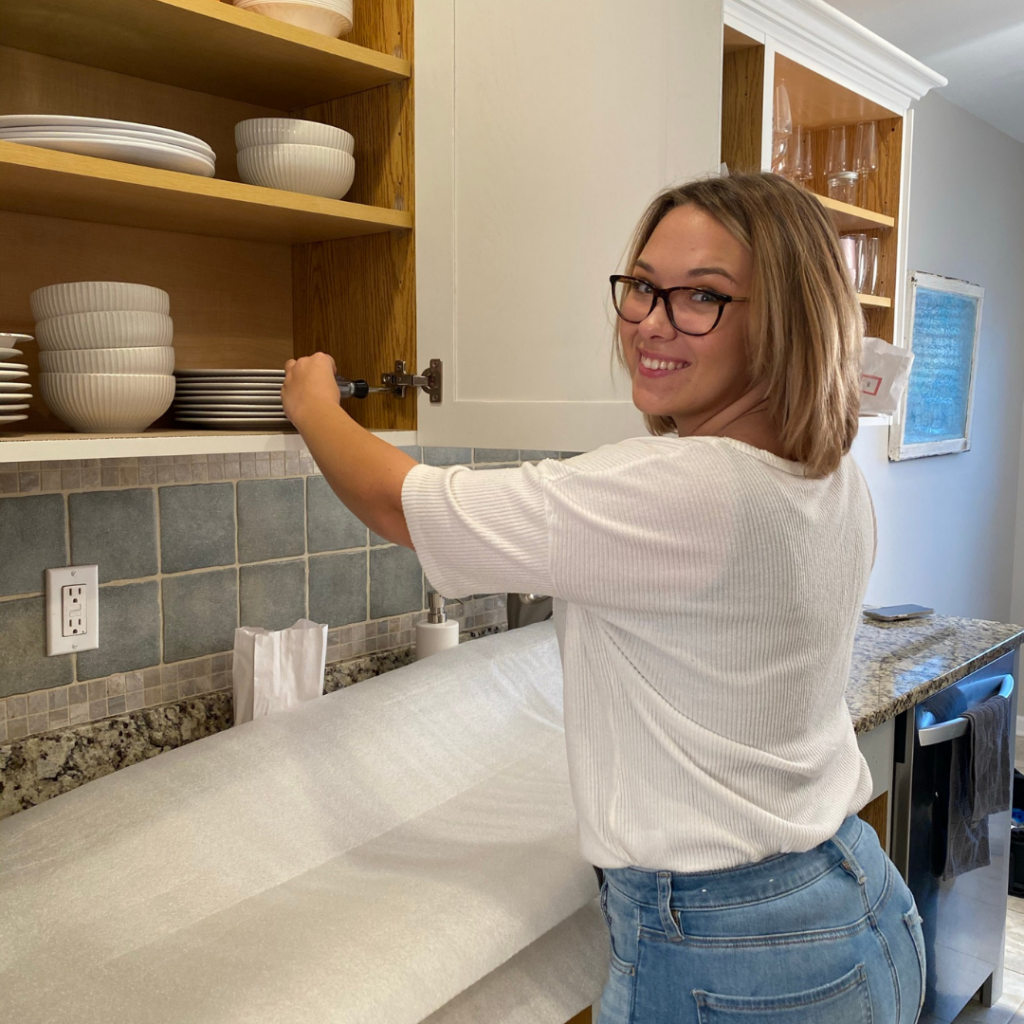
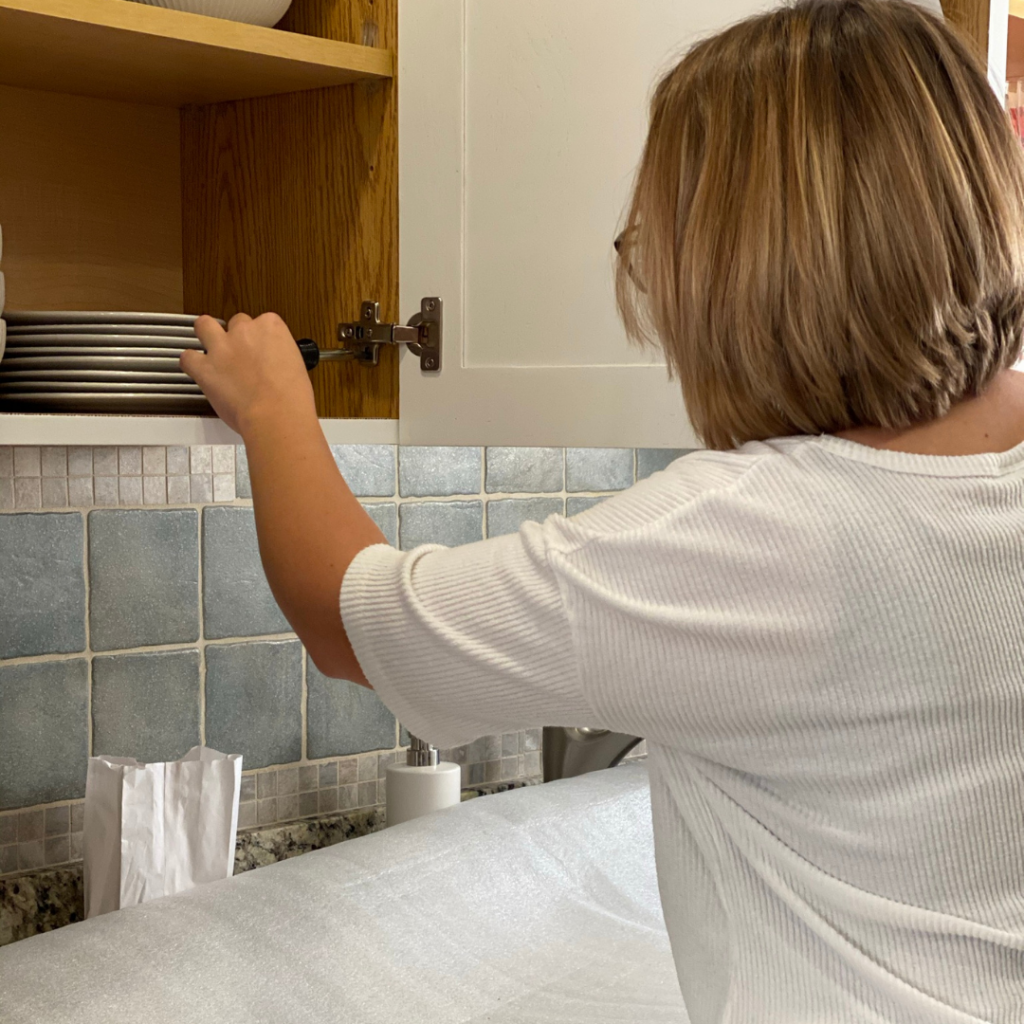
- Now that your cabinet doors have been painted and completely dry, you will want to grab a partner to help you install the doors to the cabinet boxes. Remove the hinges and screws from your bag of hardware. Be sure to match up your hinges with the one labeled T for top and B for the bottom. This ensures that the door is installed the same way it was removed.
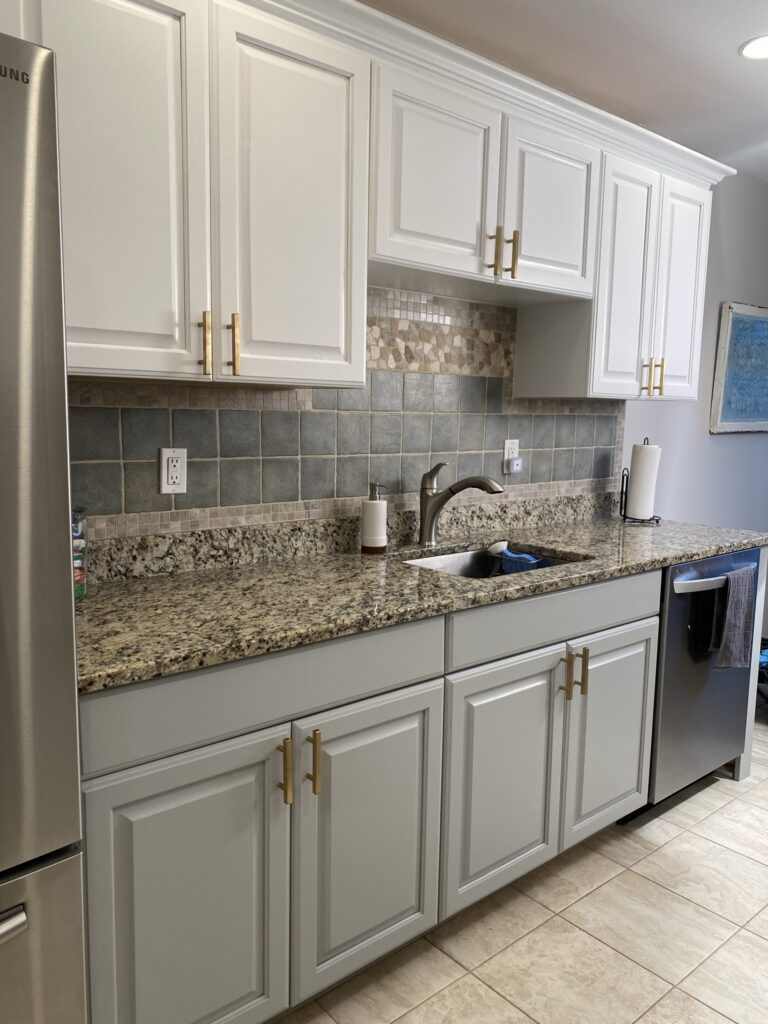
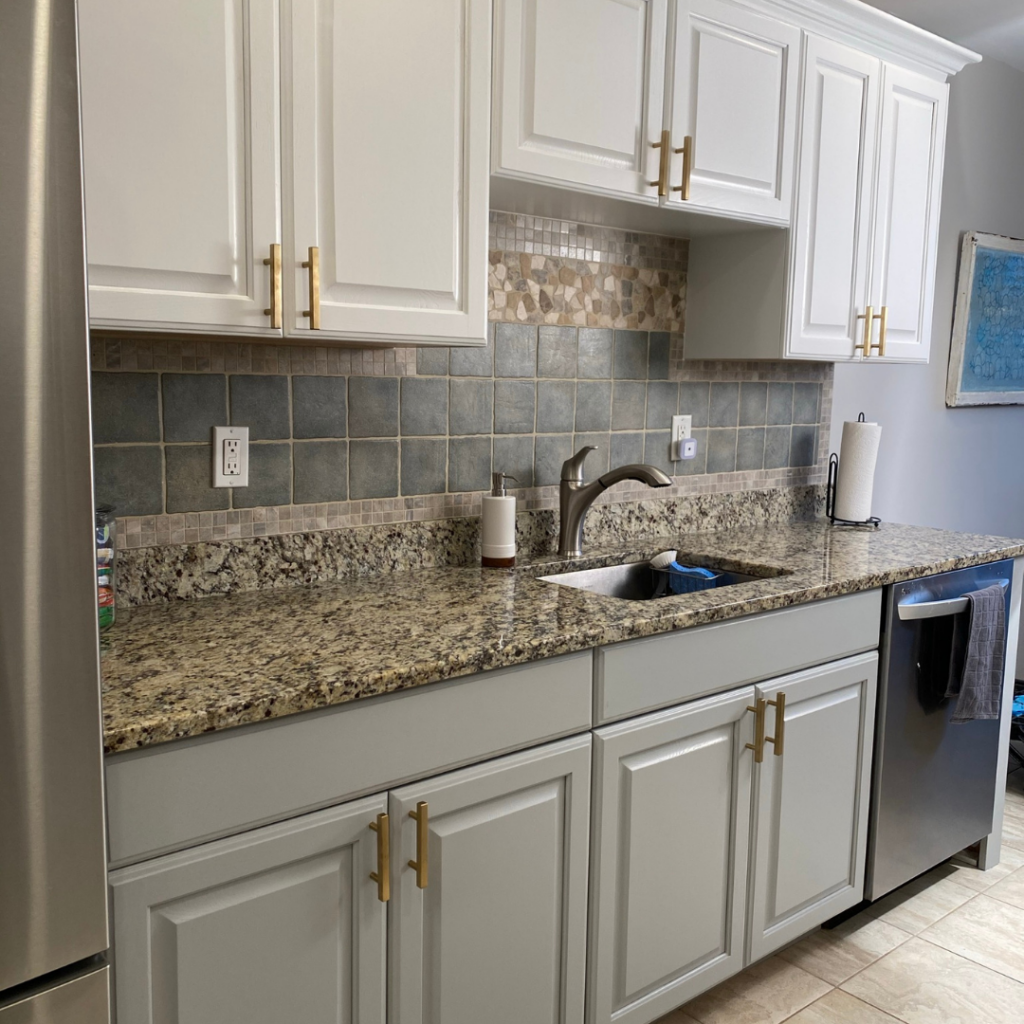
- With the door successfully installed grab your handle or pulls along with the screws and attach it to the cabinet door using a screwdriver. This has got to be the most satisfying step in the entire process of painting your kitchen cabinets. You are about to see the revealing of all the hard work you put into painting your kitchen cabinets yourself.
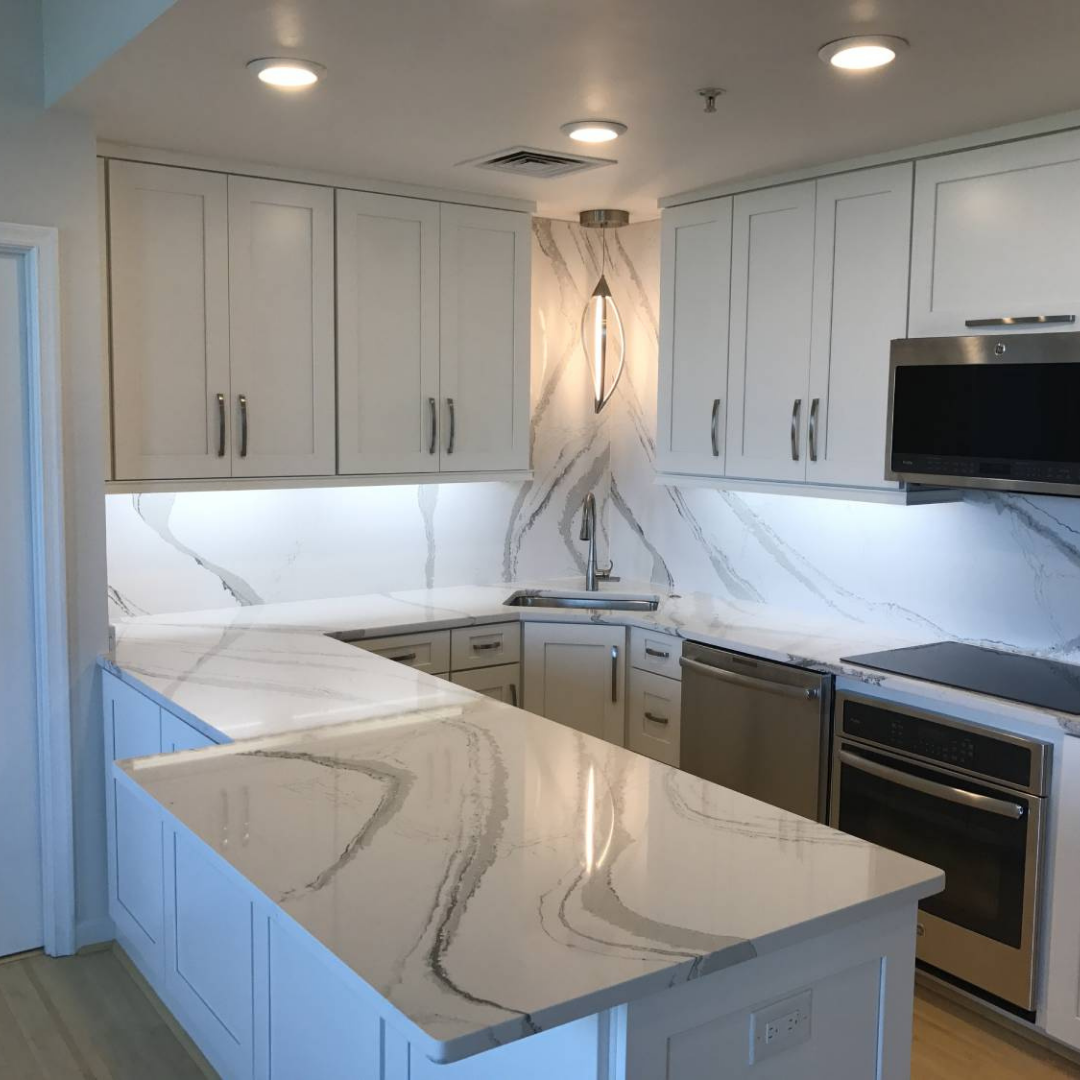
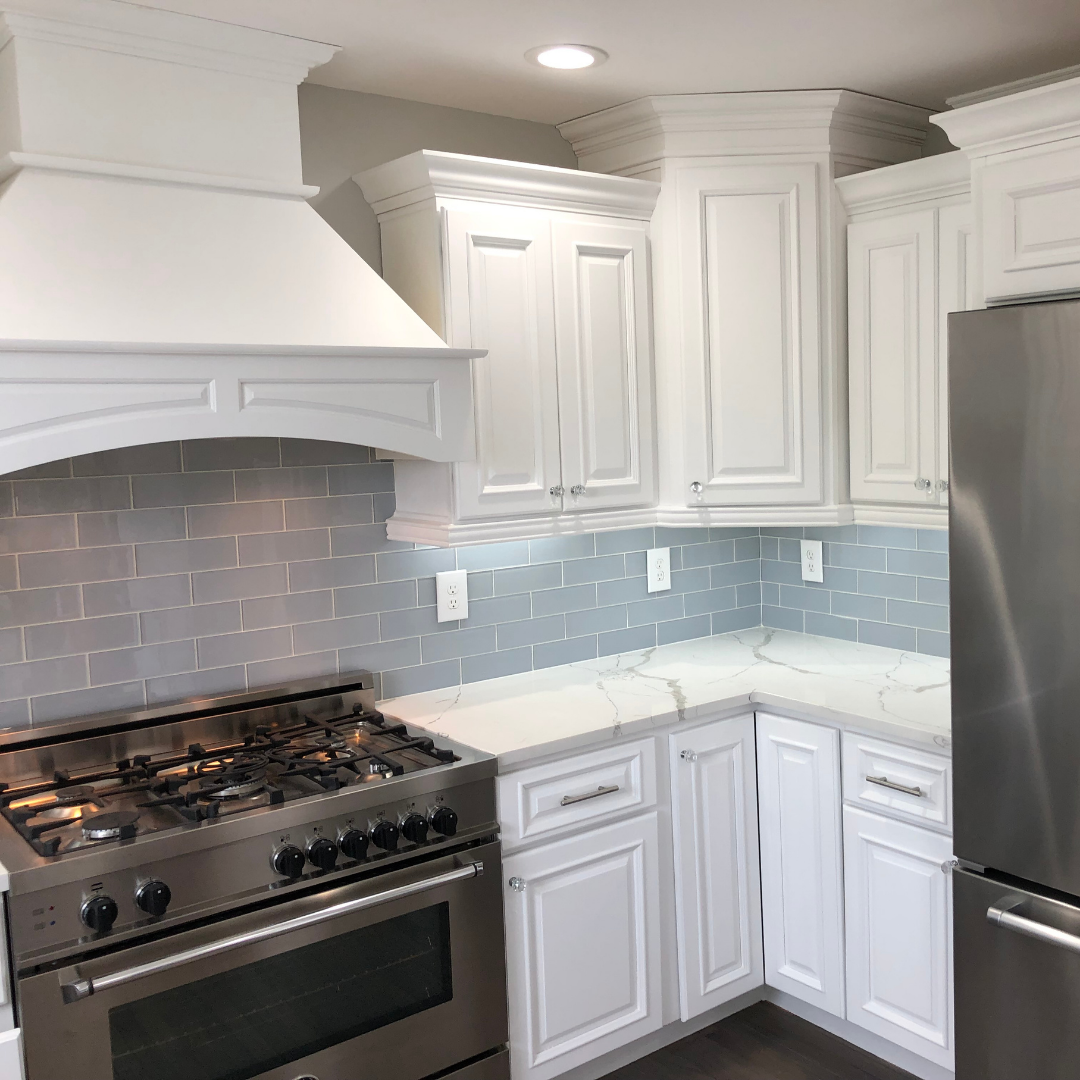
The results are absolutely stunning! Thank you for following along in or 7-part series of how-to DIY your kitchen cabinets.
Stay tuned for week 8 as we combine the series for a full recap.
